1、下载OpenEuler系统:
1.1、进入华为云下载OpenEuler系统:
https://mirrors.huaweicloud.com/mirrorDetail/5ebe3408c8ac54047fe607f0?mirrorName=openeuler&catalog=os
1.2、下载OpenEuler 22.03 LTS x86_64镜像:
https://mirrors.huaweicloud.com/openeuler/openEuler-22.03-LTS-SP3/ISO/x86_64/openEuler-22.03-LTS-SP3-x86_64-dvd.iso
2、硬件资源准备(测试环境):
1、2个master节点
2、2个etcd节点
3、3个node工作节点
4、master节点 2核4G 60G存储空间(最低配置)
5、node节点 4核8G 60G存储空间(最低配置)
6、系统 openEuler 内核版本5.10.0-182.0.0.95.oe2203sp3.x86_64
7、内网互通
注意:/var/lib/docker 主要用于存储容器数据,在使用和操作过程中会逐渐增大。对于生产环境,建议 /var/lib/docker 单独挂盘。
3、软件环境:
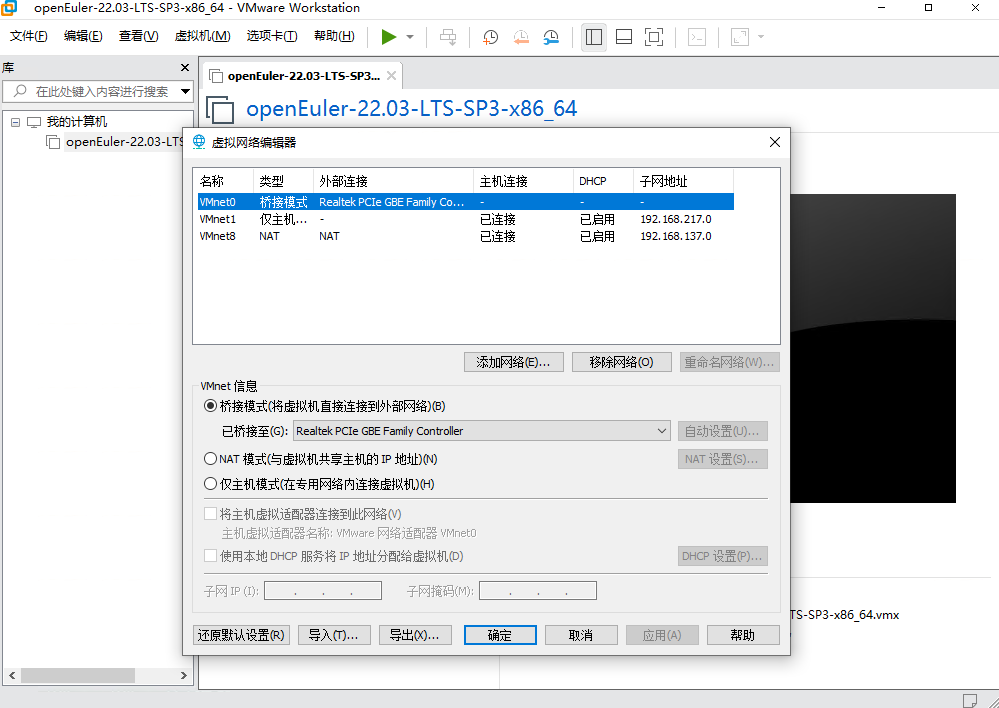
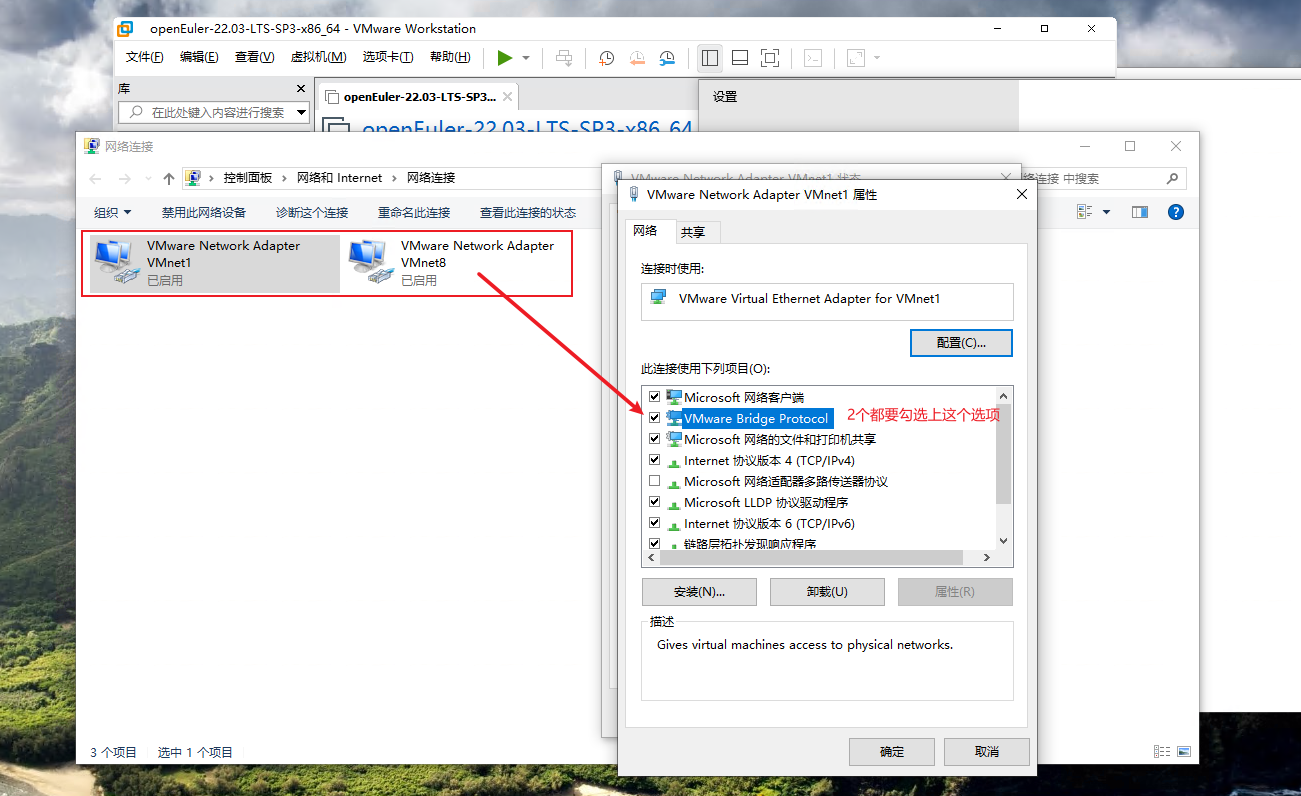
1、网络桥接
2、先获取网络信息。再根据获取的信息 固定IP # 每台机器的UUID不能一样
4、虚拟机安装OpenEuler系统:
5、配置OpenEuler系统yum源:
5.1、配置repo源:
cd /etc/yum.repos.d/
vim openEuler.repo
# 在文件最下面添加如下内容:
[osrepo]
name=osrepo
baseurl=https://mirrors.huaweicloud.com/openeuler/openEuler-22.03-LTS-SP3/OS/x86_64/
enabled=1

gpgcheck=1
gpgkey=https://mirrors.huaweicloud.com/openeuler/openEuler-22.03-LTS-SP3/OS/x86_64/RPM-GPG-KEY-openEuler
5.2、更新系统:
yum update -y
5.3、清除原yum缓存,重新生成缓存:
yum clean all
yum makecache
6、固定OpenEuler系统IP:
6.1、查看动态获取的IP信息:
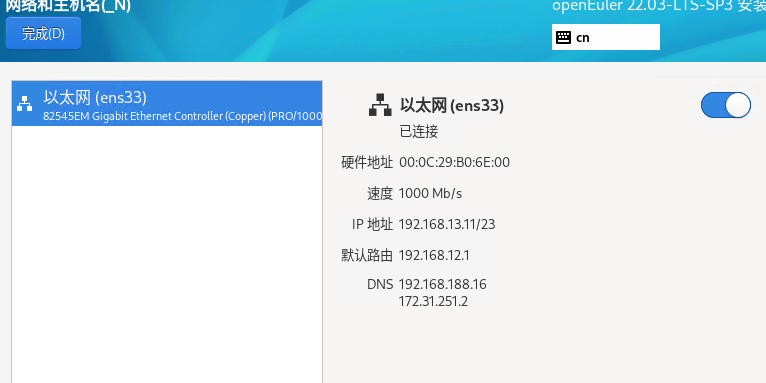

6.2、查看IP和子网掩码信息:
ip add # 获取IP信息
ip route show # 获取网关信息
6.3、查看网卡名:
ll /etc/sysconfig/network-scripts/
网卡名为 ens33

6.4、编辑网卡,配置固定IP:
vim /etc/sysconfig/network-scripts/ifcfg-ens33
TYPE=Ethernet
NAME=ens33
UUID=fcbec990-0be9-4e5d-b575-ad85bef78bc6
DEVICE=ens33            #网卡名 以前自动获取的时候网卡名是啥,现在就是啥
ONBOOT=yes

IPADDR=192.168.159.128  # IP
GATEWAY=192.168.159.2   #网关 在虚拟网卡里看 IP WINS 就是
ETMASK=255.255.255.0    #子网掩码
DNS1=114.114.114.114    #公网DNS
6.5、重启网卡服务:
nmcli connection reload
systemctl reload NetworkManager # 未生效用
nmcli connection up ens33 # 激活网卡
6.6、验证网卡是否正常启动:
ping www.baidu.com
7、关闭OpenEuler系统防火墙:
systemctl stop firewalld
systemctl disable firewalld
8、关闭SELinux:
sed -i 's/enforcing/disabled/' /etc/selinux/config # 命令替换SELINUX= 参数
setenforce 0 # 临时关闭selinux
8.1、验证是否关闭SELinux:
sestatus # 查看selinux状态
getenforce # 查看selinux状态
reboot # 重启系统,让配置生效
9、关闭SWAP:
swapoff -a
sed -ri 's/.*swap.*/#&/' /etc/fstab
9.1、验证是否关闭:
free -h # swap项显示为0 即关闭
10、安装 NTP 时间同步服务器:
10.1、安装ntpd:
yum install -y ntpd
10.2、编辑 ntp.conf 文件:
vim /etc/ntp.conf
server ntp1.aliyun.com iburst
server ntp2.aliyun.com iburst
server ntp3.aliyun.com iburst
server ntp4.aliyun.com iburst
10.3、设置系统时间为北京时间:
timedatectl set-timezone Asia/Shanghai
10.4、启动ntp服务、设置开机自启:
systemctl start ntpd
systemctl enable ntpd
10.4、验证ntp时间服务器是否正常:
date #查看返回的时间时候正常
ntpdate time.nist.gov
date #再查看时间是否同步
10.5、查看ntp版本:
ntpd -v
11、安装K8s前置环境依赖:
11.1、安装通用工具:
yum install -y vim curl openssl sudo tar wget
11.2、安装K8s前置环境依赖:
yum install -y socat conntrack ebtables ipset