1、系统优化:
cat > /etc/sysctl.d/k8s_better.conf << EOF
net.bridge.bridge-nf-call-iptables=1
net.bridge.bridge-nf-call-ip6tables=1
net.ipv4.ip_forward=1
vm.swappiness=0
vm.overcommit_memory=1
vm.panic_on_oom=0
fs.inotify.max_user_instances=8192
fs.inotify.max_user_watches=1048576
fs.file-max=52706963
fs.nr_open=52706963
net.ipv6.conf.all.disable_ipv6=1
net.netfilter.nf_conntrack_max=2310720
EOF

modprobe br_netfilter                          # 加载modprobe br_netfilter模块
modprobe ip_conntrack                          # 加载modprobe ip_conntrack模块
lsmod |grep conntrack                          # 查看系统是否已经加载 conntrack模块
sysctl -p /etc/sysctl.d/k8s_better.conf        # 执行 /etc/sysctl.d/k8s_better.conf 文件配置的内核参数
2、创建存储目录(测试环境用):
mkdir -p /data/openebs/local
3、下载、解压Kubekey:
3.1、下载Kubekey:
https://github.com/kubesphere/kubekey/releases/tag/v3.1.6
wget https://github.com/kubesphere/kubekey/releases/download/v3.1.7/kubekey-v3.1.7-linux-amd64.tar.gz
3.2、解压Kubekey:
将Kubekey上传到master节点,解压安装:
tar -zxvf kubekey-v3.1.6-linux-amd64.tar.gz
3.3、查看Kubekey支持的Kubernetes版本:
./kk version --show-supported-k8s # --show-supported-k8s 显示支持的k8s版本
备注:
1、显示结果为kubekey支持的结果,不代表kubesphere也都支持。
2、生产环境可以选 v1.26.15版本。或是其他次要版本的双数且补丁数超过5的版本。
3、不建议选太老的版本,毕竟v1.30已经发布了。
4、通过Kubekey生成多节点K8s集群配置文件:
4.1、生成名为k8s-config.yaml的配置文件:
./kk create config -f k8s-config.yaml
4.2、修改k8s-config.yaml配置文件:
vim k8s-config.yaml
apiVersion: kubekey.kubesphere.io/v1alpha2
kind: Cluster
metadata:
  name: sample                         # 集群的名字
spec:
  hosts:
  - {name: master, address: 192.168.137.129, internalAddress: 192.168.137.129, user: root, password: "填写该节点的密码"}
  - {name: node1, address: 192.168.137.130, internalAddress: 192.168.137.130, user: root, password: "填写该节点的密码"}
  roleGroups:
    etcd:                              # etcd 存储集群数据的
    - master
    control-plane:                     # 管理集群的
    - master
    worker:                            # 具体干活的节点
    - master
    - node1
  controlPlaneEndpoint:                # 启动内置的 HaProxy 负载均衡器
    ## Internal loadbalancer for apiservers
    internalLoadbalancer: haproxy      # 启动集群内部负载均衡

    domain: lb.kubesphere.local        # 自定义集群域名,无特殊要求使用默认的即可
    address: ""
    port: 6443
  kubernetes:
    version: v1.29.5                   # K8s版本
    clusterName: cluster.local         # 自定义集群名字,无特殊要求使用默认即可
    autoRenewCerts: true               # 打开后,集群证书到期自动续期
    containerManager: docker           # 使用docker做容器运行时,也可以换成containerd,看k8s的版本支持哪个运行时就用哪个运行时
  etcd:
    type: kubekey
  network:
    plugin: calico
    kubePodsCIDR: 10.233.64.0/18
    kubeServiceCIDR: 10.233.0.0/18
    ## multus support. https://github.com/k8snetworkplumbingwg/multus-cni
    multusCNI:
      enabled: false

  storage:
    openebs:                           # 测试环境不装 存储会有问题
      basePath: /data/openebs/local    # 默认没有的新增配置,base path of the local PV 开发环境用openebs,生产环境使用NFS/Ceph做永久存储 要先创建/data/openebs/local目录


  registry:
    privateRegistry: ""                # 设置私有仓库时用,用于离线安装
    namespaceOverride: ""              # 给自己搭建的docker拉取平台起个名字
    registryMirrors: ["这里填写镜像加速地址"]
    insecureRegistries: []
  addons: []
备注:
1、由于 Kubernetes 暂不支持大写 NodeName, worker 节点名中包含大写字母将导致后续安装过程无法正常结束。
2、当指定安装KubeSphere时,要求集群中有可用的持久化存储。默认使用localVolume,如果需要使用其他持久化存储,请参阅 addons 配置。
3、kubekey是在kubeadmin的基础上,通过代码实现自动化安装配置 K8s集群的。
5、部署K8s集群:
5.1、国内环境添加:
export KKZONE=cn
5.2、通过配置文件k8s-config.yaml创建K8s集群:
./kk create cluster -f k8s-config.yaml
5.3、安装好集群后查看各个节点、Pod是否正常工作:
kubectl get nodes
kubectl get pods -A
6、部署Kubesphere:
6.1、Master节点安装Helm:
helm upgrade --install -n kubesphere-system --create-namespace ks-core https://charts.kubesphere.io/main/ks-core-1.1.3.tgz --debug --wait
6.2、docker hub 受限,安装不了Ks,在上面命令的基础上添加如下配置:
--set global.imageRegistry=swr.cn-southwest-2.myhuaweicloud.com/ks
--set extension.imageRegistry=swr.cn-southwest-2.myhuaweicloud.com/ks
备注:拉取失败,多试几次就行。
6.3、Kubespherev部署成功后,返回如下内容:
NOTES:
Thank you for choosing KubeSphere Helm Chart.

Please be patient and wait for several seconds for the KubeSphere deployment to complete.

1. Wait for Deployment Completion

    Confirm that all KubeSphere components are running by executing the following command:

    kubectl get pods -n kubesphere-system
2. Access the KubeSphere Console

    Once the deployment is complete, you can access the KubeSphere console using the following URL:

    http://192.168.137.129:30880

3. Login to KubeSphere Console

    Use the following credentials to log in:

    Account: admin
    Password: P@88w0rd

NOTE: It is highly recommended to change the default password immediately after the first login.
For additional information and details, please visit https://kubesphere.io.
7、安装Kubectl补全命令:
7.1、K8s命令自动补全:
yum install -y bash-completion
source /usr/share/bash-completion/bash_completion
source <(kubectl completion bash)
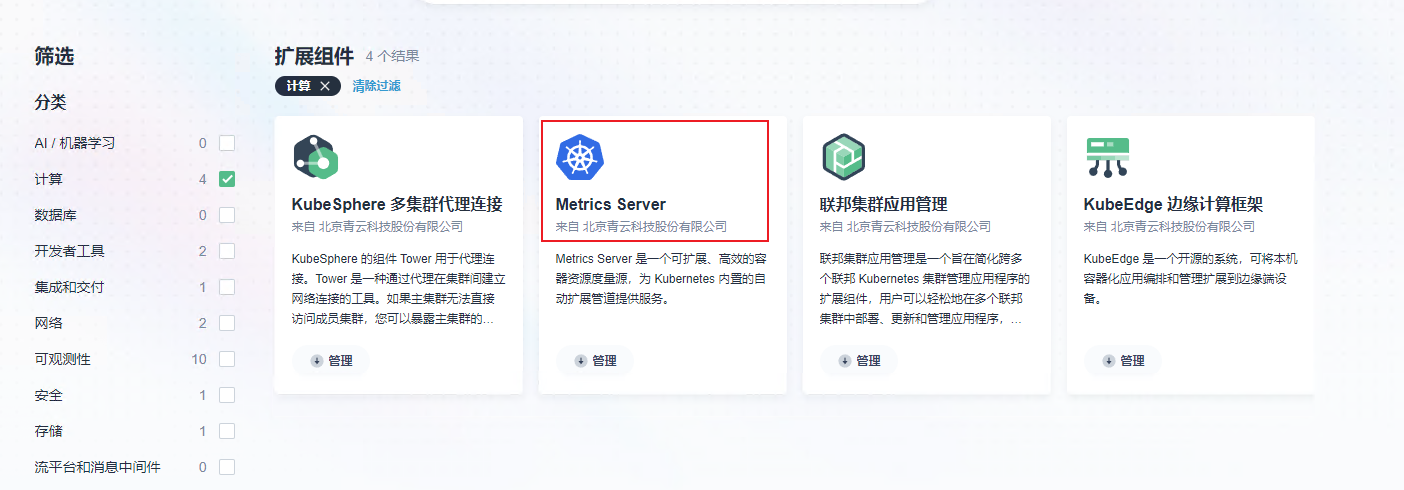
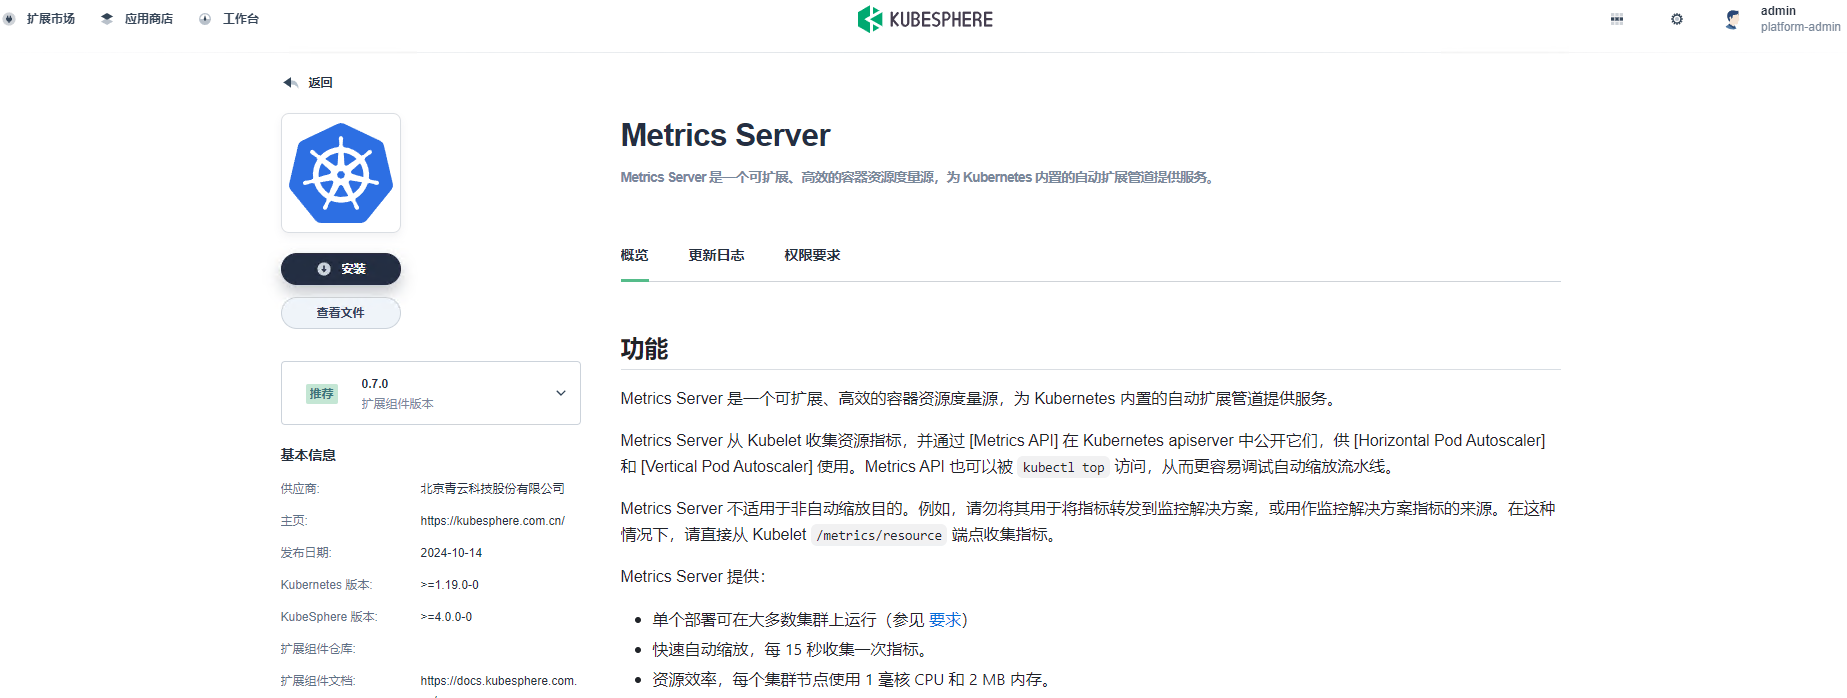
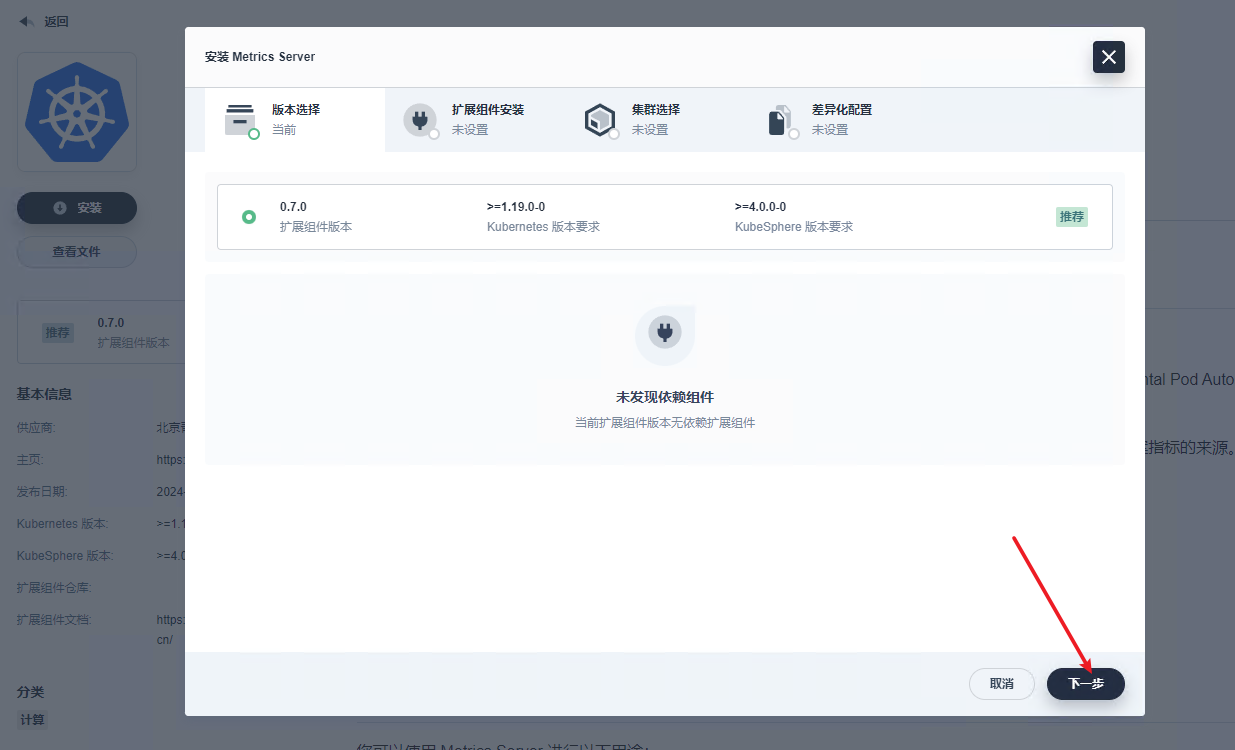
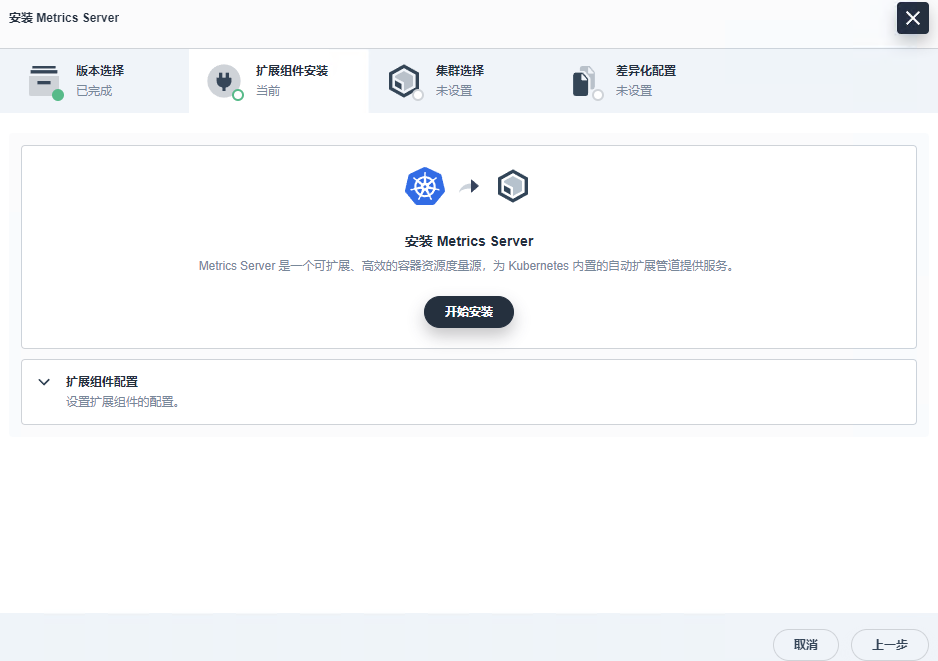
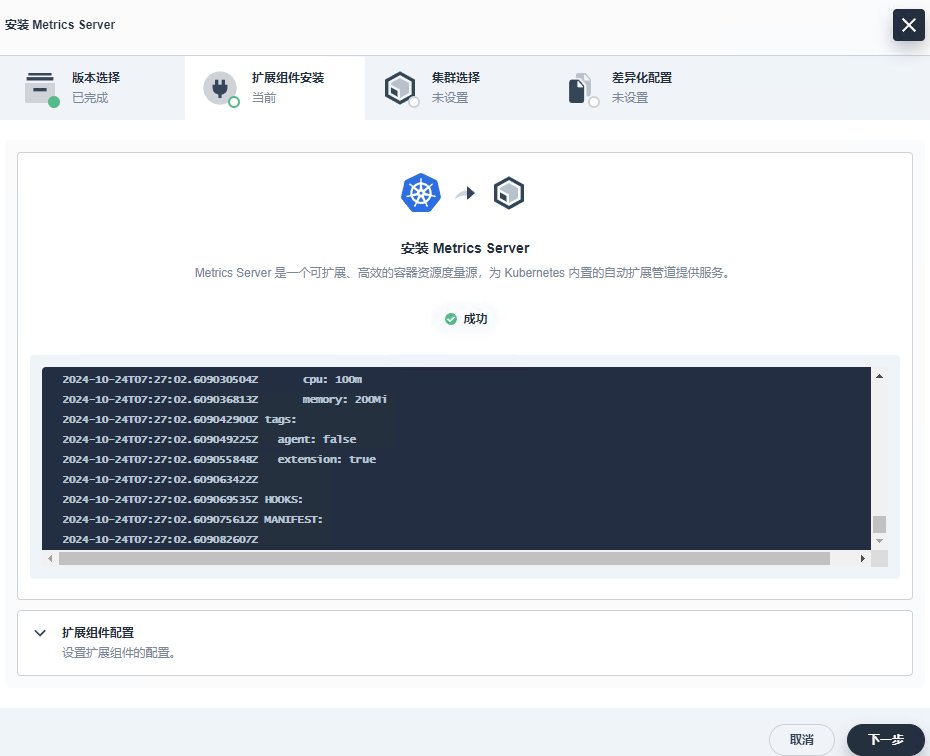
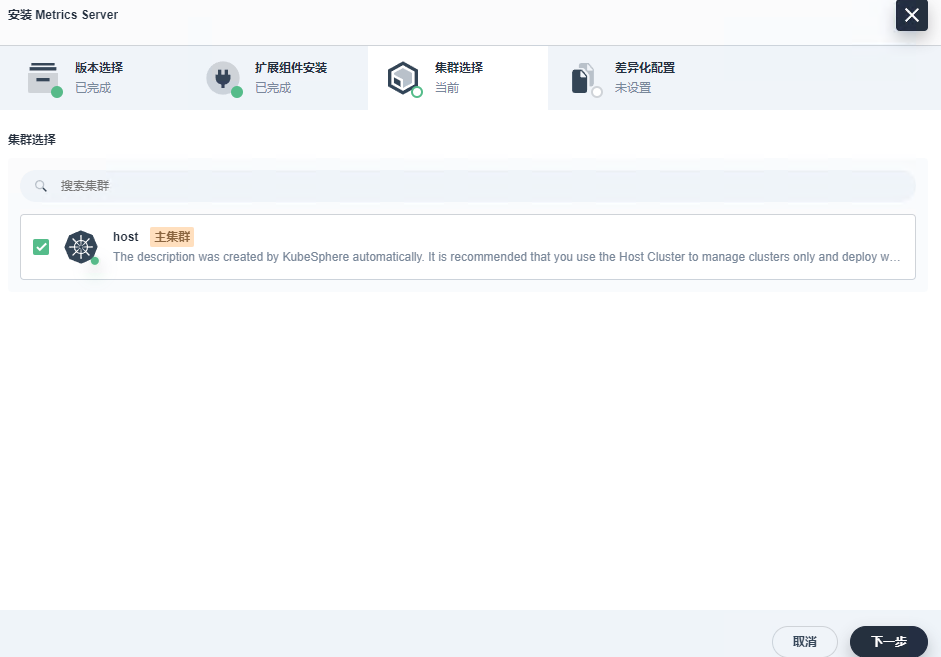
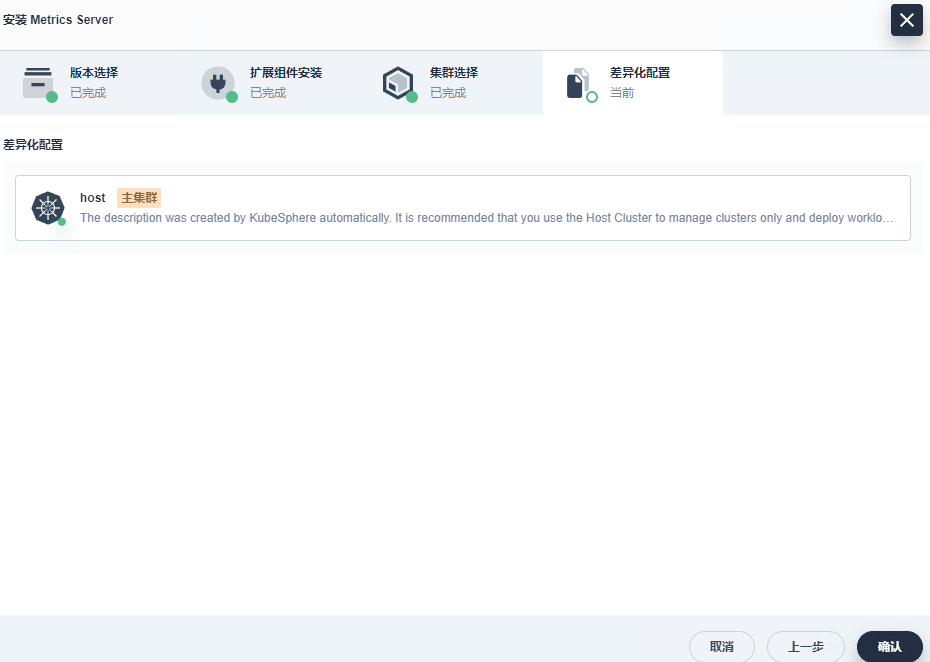
echo "source <(kubectl completion bash)" >> ~/.bashrc8、通过Kubesphere扩展市场给K8s集群安装Metrics Server服务:
8.1、安装Metrics Server服务后,才可以在K8s集群使用top命令查看资源: